Creating a photorealistic interior render is a partnership. It’s a process where a client’s design vision and an artist’s technical skill come together to create something truly stunning. To ensure the final image perfectly captures this vision, we follow a transparent and collaborative interior rendering workflow. This step-by-step guide is designed to demystify the process and show you exactly how we’ll work together to bring your interior space to life.
Stage 1: Laying the Foundation – The Briefing
This initial stage is all about understanding your vision. The clearer the input, the more accurate the output.
- What We Need From You: We begin by gathering all essential project files. This includes architectural plans (CAD, PDFs, or sketches), mood boards with inspirational images, specific furniture selections, and a list of desired materials and finishes.
- What We Do: Our team carefully reviews every detail, asks clarifying questions to fill in any gaps, and establishes a clear project timeline.
- Outcome: A shared, unified understanding of the project’s goals, style, and scope.
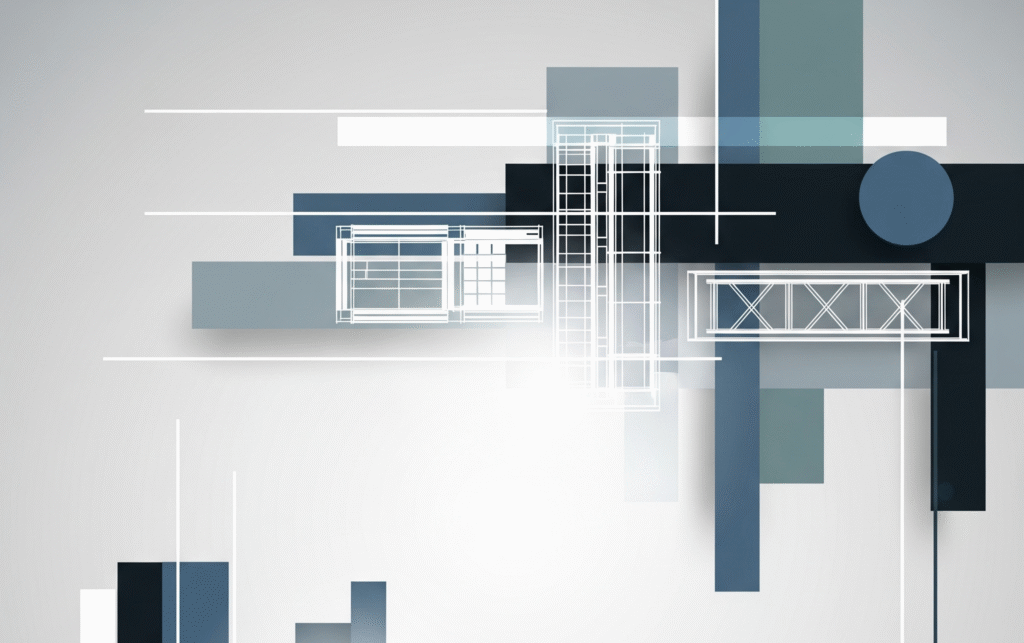
Stage 2: Building the Digital Space – 3D Modeling & Composition
With a clear brief, we move into the digital environment to construct the scene.
- What We Do: We build the architectural shell—walls, windows, doors, and floors—to precise scale. We then place the 3D models of furniture and key decorative items to create a balanced composition.
- Your Role (Checkpoint 1): We will send you “clay renders.” These are untextured, grayscale images from the chosen camera angles. At this critical stage, you approve the geometry, furniture layout, and camera viewpoints. Consequently, this ensures we have a perfect foundation before adding detail.
Stage 3: Adding Life and Character – Materials, Lighting & Textures
This is where the space truly begins to develop its personality and mood.
- What We Do: Our artists apply the specified materials, from the grain on a wooden floor to the weave of a fabric sofa. In addition, we set up a realistic lighting scheme, whether it’s soft natural light pouring through a window or a specific artificial lighting plan.
- Your Role (Checkpoint 2): We will send the first draft of the colored render. Here, you can provide feedback on the look of the materials, the intensity of the lighting, and the overall atmosphere.
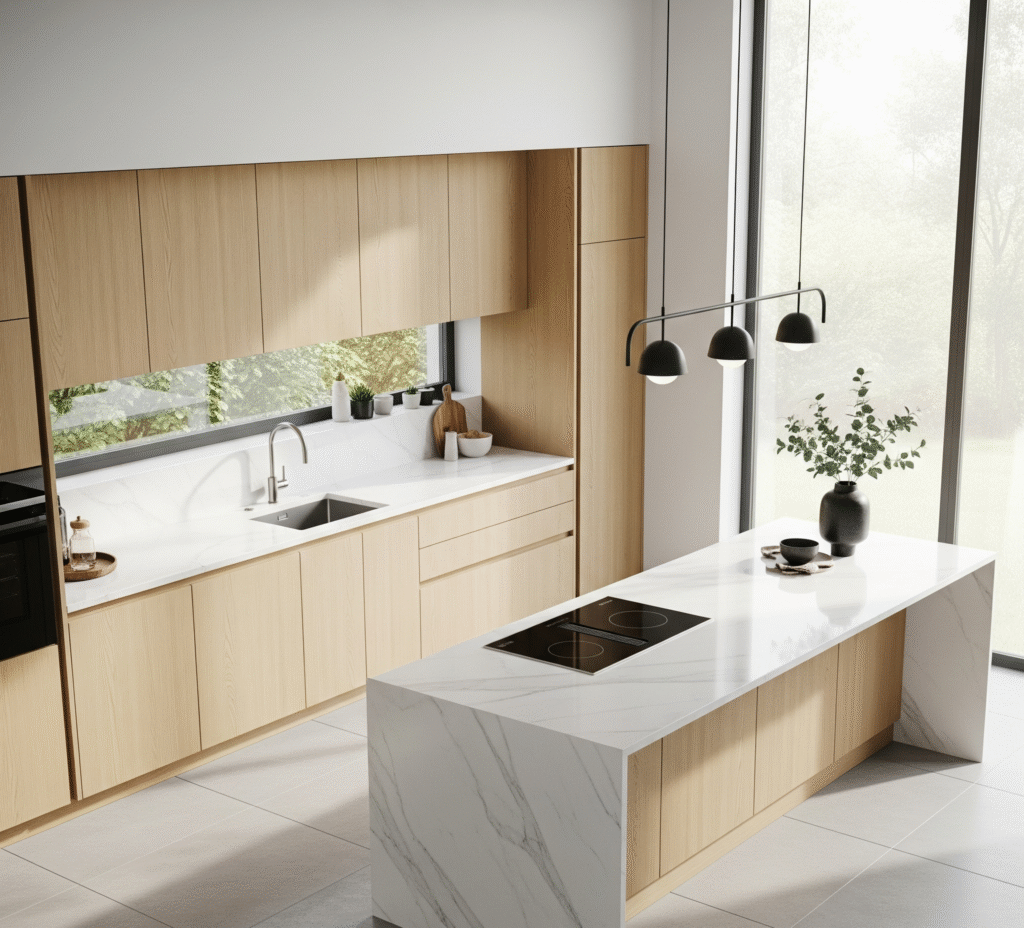
Stage 4: The Final Polish – High-Resolution Rendering & Post-Production
Once the draft is approved, we prepare the final masterpiece.
- What We Do: We launch the final high-resolution render, a process where the computer calculates all light, shadow, and texture data to produce a flawless image. Afterwards, our artists perform post-production adjustments. This involves fine-tuning color balance, contrast, and adding subtle effects to enhance realism.
- Outcome: A set of stunning, marketing-ready images that perfectly capture your design intent.
A Partnership for Perfect Interiors
Our transparent and client-focused interior rendering workflow is designed to eliminate surprises and foster creativity. We believe that regular communication and clear feedback checkpoints are the keys to a successful project. This collaborative journey ensures that the final visuals are not just technically excellent, but are also a perfect reflection of your unique vision.
Contact us to learn more about our photorealistic 3D visualization services for your project and to create the space of your dreams together.