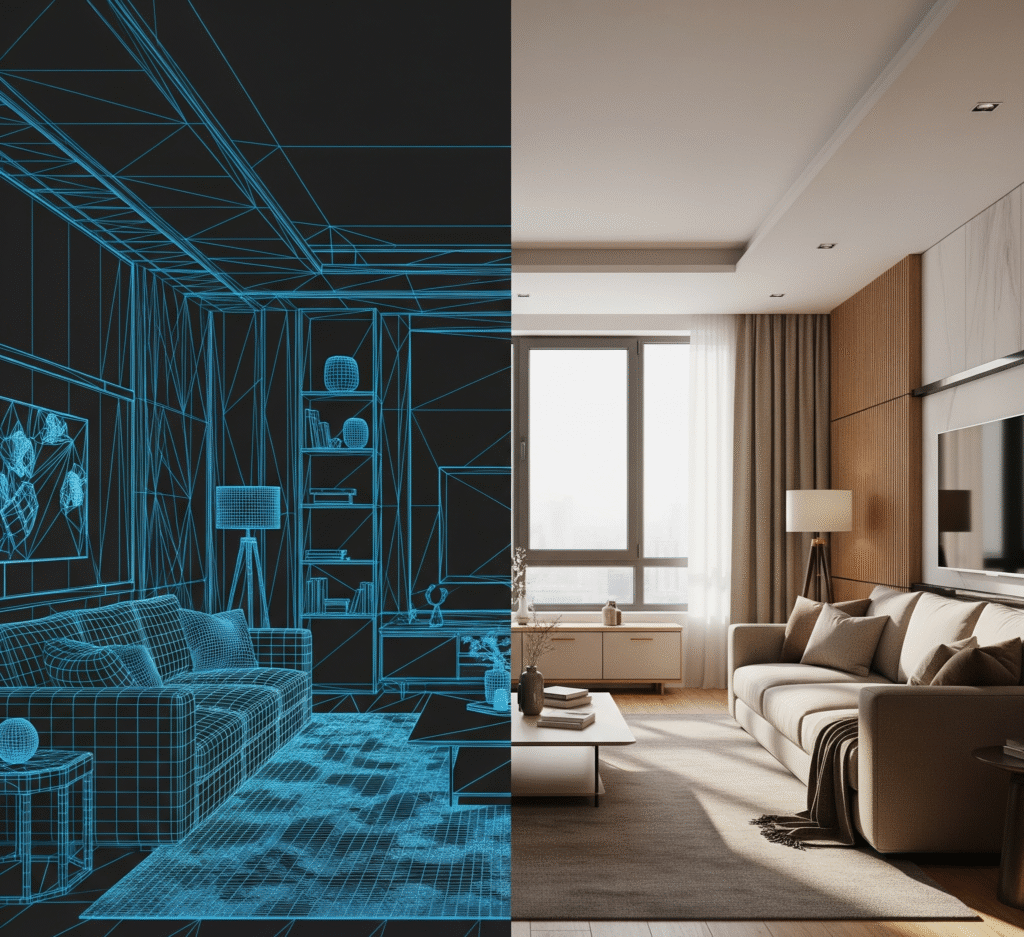
Seeing a flat, two-dimensional blueprint transform into a vibrant, photorealistic image can feel like magic. It allows you to step into a space that doesn’t even exist yet. However, this transformation isn’t magic—it’s a meticulous and highly creative technical journey. Understanding the 3D rendering process helps clients appreciate the incredible detail and expertise that goes into every single image. Let’s pull back the curtain and explore the five key steps.

Step 1: The Foundation – 3D Modeling
Everything begins with a digital blueprint. Based on the architectural plans you provide (like CAD files or drawings), our artists construct a geometrically precise 3D model of the space.
- What it is: This is like building a digital sculpture. Every wall, window, door, and piece of furniture is built to the correct scale and proportion.
- The result: A “wireframe” or untextured “clay” model that forms the skeleton of the final image. This is the crucial first step to approve the structure and camera angles.
Step 2: The Soul – Texturing and Materials
An untextured model is lifeless. The next step is to give the digital sculpture its “skin” by applying materials and textures.
- What it is: We assign specific materials to every surface. For example, we apply high-resolution textures for light oak flooring, white marble countertops, or rough concrete walls.
- The result: The scene starts to look much more realistic as the objects gain color, texture, and physical properties like reflectivity and roughness.
Step 3: The Atmosphere – Lighting and Camera Setup
This is arguably the most artistic stage of the 3D rendering process. Here, we act as virtual photographers to set the mood and find the perfect shot.
- What it is: We place virtual light sources—such as a realistic sun for natural daylight, or interior lamps and spotlights for evening scenes. We then position the virtual camera to capture the most compelling and flattering view of the space.
- The result: The scene gains depth, mood, and atmosphere. Shadows and highlights appear, creating a truly believable environment.
Step 4: The Magic – The Rendering Phase
This is where the computer does the heavy lifting. The rendering engine calculates all the information we’ve built—models, textures, and lights—to produce the final image.
- What it is: It’s a complex calculation of how light bounces around the scene, how it reflects off surfaces, and how shadows are cast. Consequently, this step can take anywhere from minutes to many hours depending on the scene’s complexity.
- The result: A high-quality, raw image that contains all the realistic lighting and material information.
Step 5: The Polish – Post-Production
The final step is to take the raw render and give it the finishing touches that elevate it from great to breathtaking.
- What it is: Similar to professional photo editing, we use software like Photoshop to make fine adjustments. This can include enhancing colors, adjusting contrast, adding subtle lens effects, or even placing people into the scene to make it feel alive.
- The result: A polished, emotive, and marketing-ready image that is ready to impress clients and buyers.
This structured 3D rendering process ensures that every project moves from a simple idea to a stunningly realistic visual with precision and artistic flair. It is a journey of collaboration between the client’s vision and the artist’s expertise.
Contact us to learn more about our photorealistic 3D visualization services for your project and to create the space of your dreams together.
