
Commissioning your first 3D rendering project can be an exciting step toward bringing your vision to life. However, you might wonder what you need to do to get started. A little preparation goes a long way. In fact, by providing the right information upfront, you can ensure the entire process is smooth, efficient, and delivers a final result that perfectly matches your expectations. This guide will walk you through everything you need to know.
The Essential Ingredients for a Perfect Render
Think of your project materials as the ingredients for a recipe. The better the ingredients, the better the final dish. Here’s what visualization artists typically need from you.
1. Clear Architectural Plans
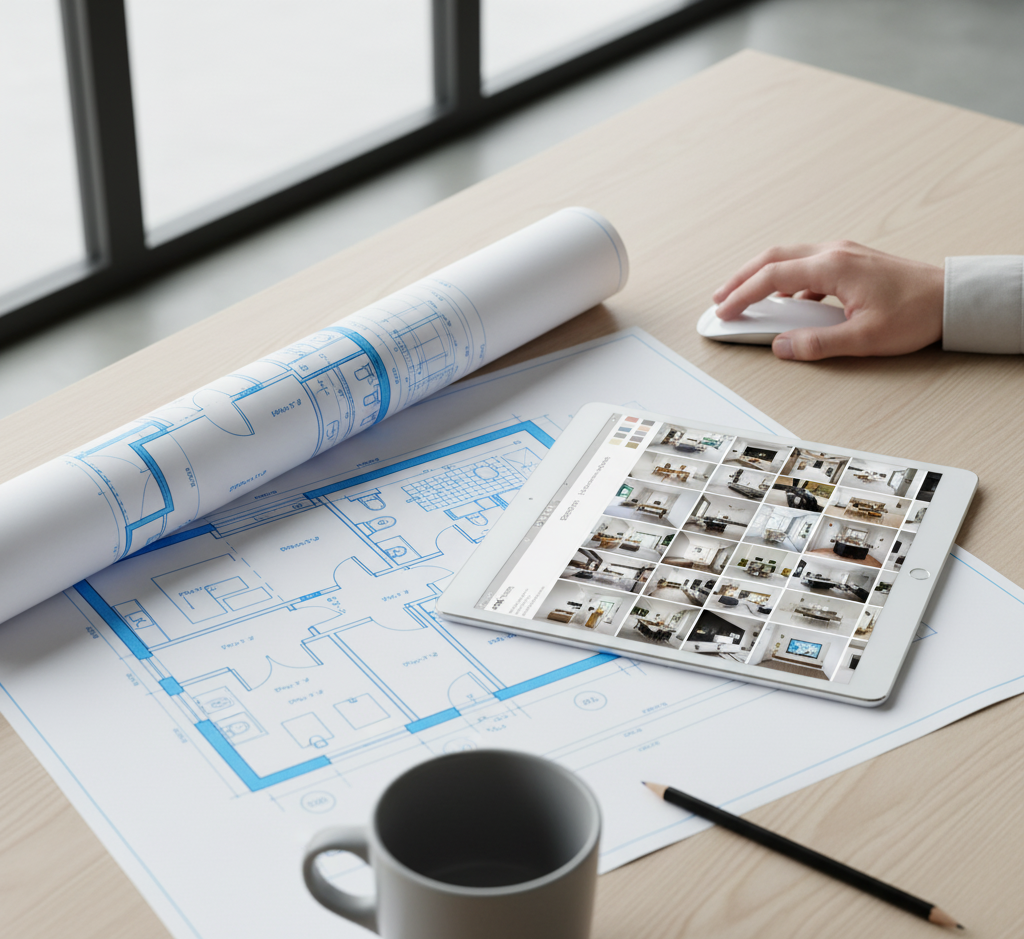
This is the foundation of the entire project. Your architectural drawings provide the exact dimensions and layout of the space. Therefore, please provide the most detailed and up-to-date plans you have.
- What to provide: CAD files (.dwg), SketchUp or Revit models (.skp, .rvt), or even detailed PDFs with measurements (.pdf).
2. A Mood Board and Design References
This is where you define the feeling and style of the space. A mood board helps the artist understand your aesthetic vision beyond the technical plans.
- What to provide: A collection of images showing the desired color palette, lighting style (e.g., warm and cozy, bright and airy), furniture types, and overall atmosphere. Pinterest boards are perfect for this.
3. A List of Materials and Finishes
To create a photorealistic image, the artist needs to know what every surface is made of. The more specific you are, the more accurate the final render will be.
- What to provide: Details on flooring (e.g., “light oak wood planks”), wall colors (paint codes if possible), kitchen countertop material (e.g., “white Calacatta marble”), and fabrics.
Understanding the Visualization Process
Once you’ve gathered your materials, the process typically follows a few simple steps.
- Step 1: Kick-off and Information Gathering: We review all the plans and references you provided to ensure we fully understand your vision.
- Step 2: Clay Render Review: Before adding color and light, we will send you a “clay render.” This is a grayscale draft showing the 3D models and camera angles. Consequently, this is the perfect time to confirm the composition and viewpoint.
- Step 3: Revision Rounds: After we add materials and lighting, we will send you the first colored draft. Most projects include a set number of revision rounds to fine-tune details like material colors or object placements.
- Step 4: Final Delivery: Once you are completely satisfied, we will produce the final, high-resolution images for your use.
Your Preparation is the Key to Success
Ultimately, a successful 3D rendering project is a collaborative effort. By taking the time to prepare clear plans and detailed references, you empower the visualization team to work efficiently and accurately. This not only speeds up the timeline but also ensures the final images are a true reflection of your brilliant design.
Ready to start? Now that you know exactly what’s needed, the next step is easy. Contact our team to discuss your project and let’s bring your vision to life together.
Contact us to learn more about our photorealistic 3D visualization services for your project and to create the space of your dreams together.